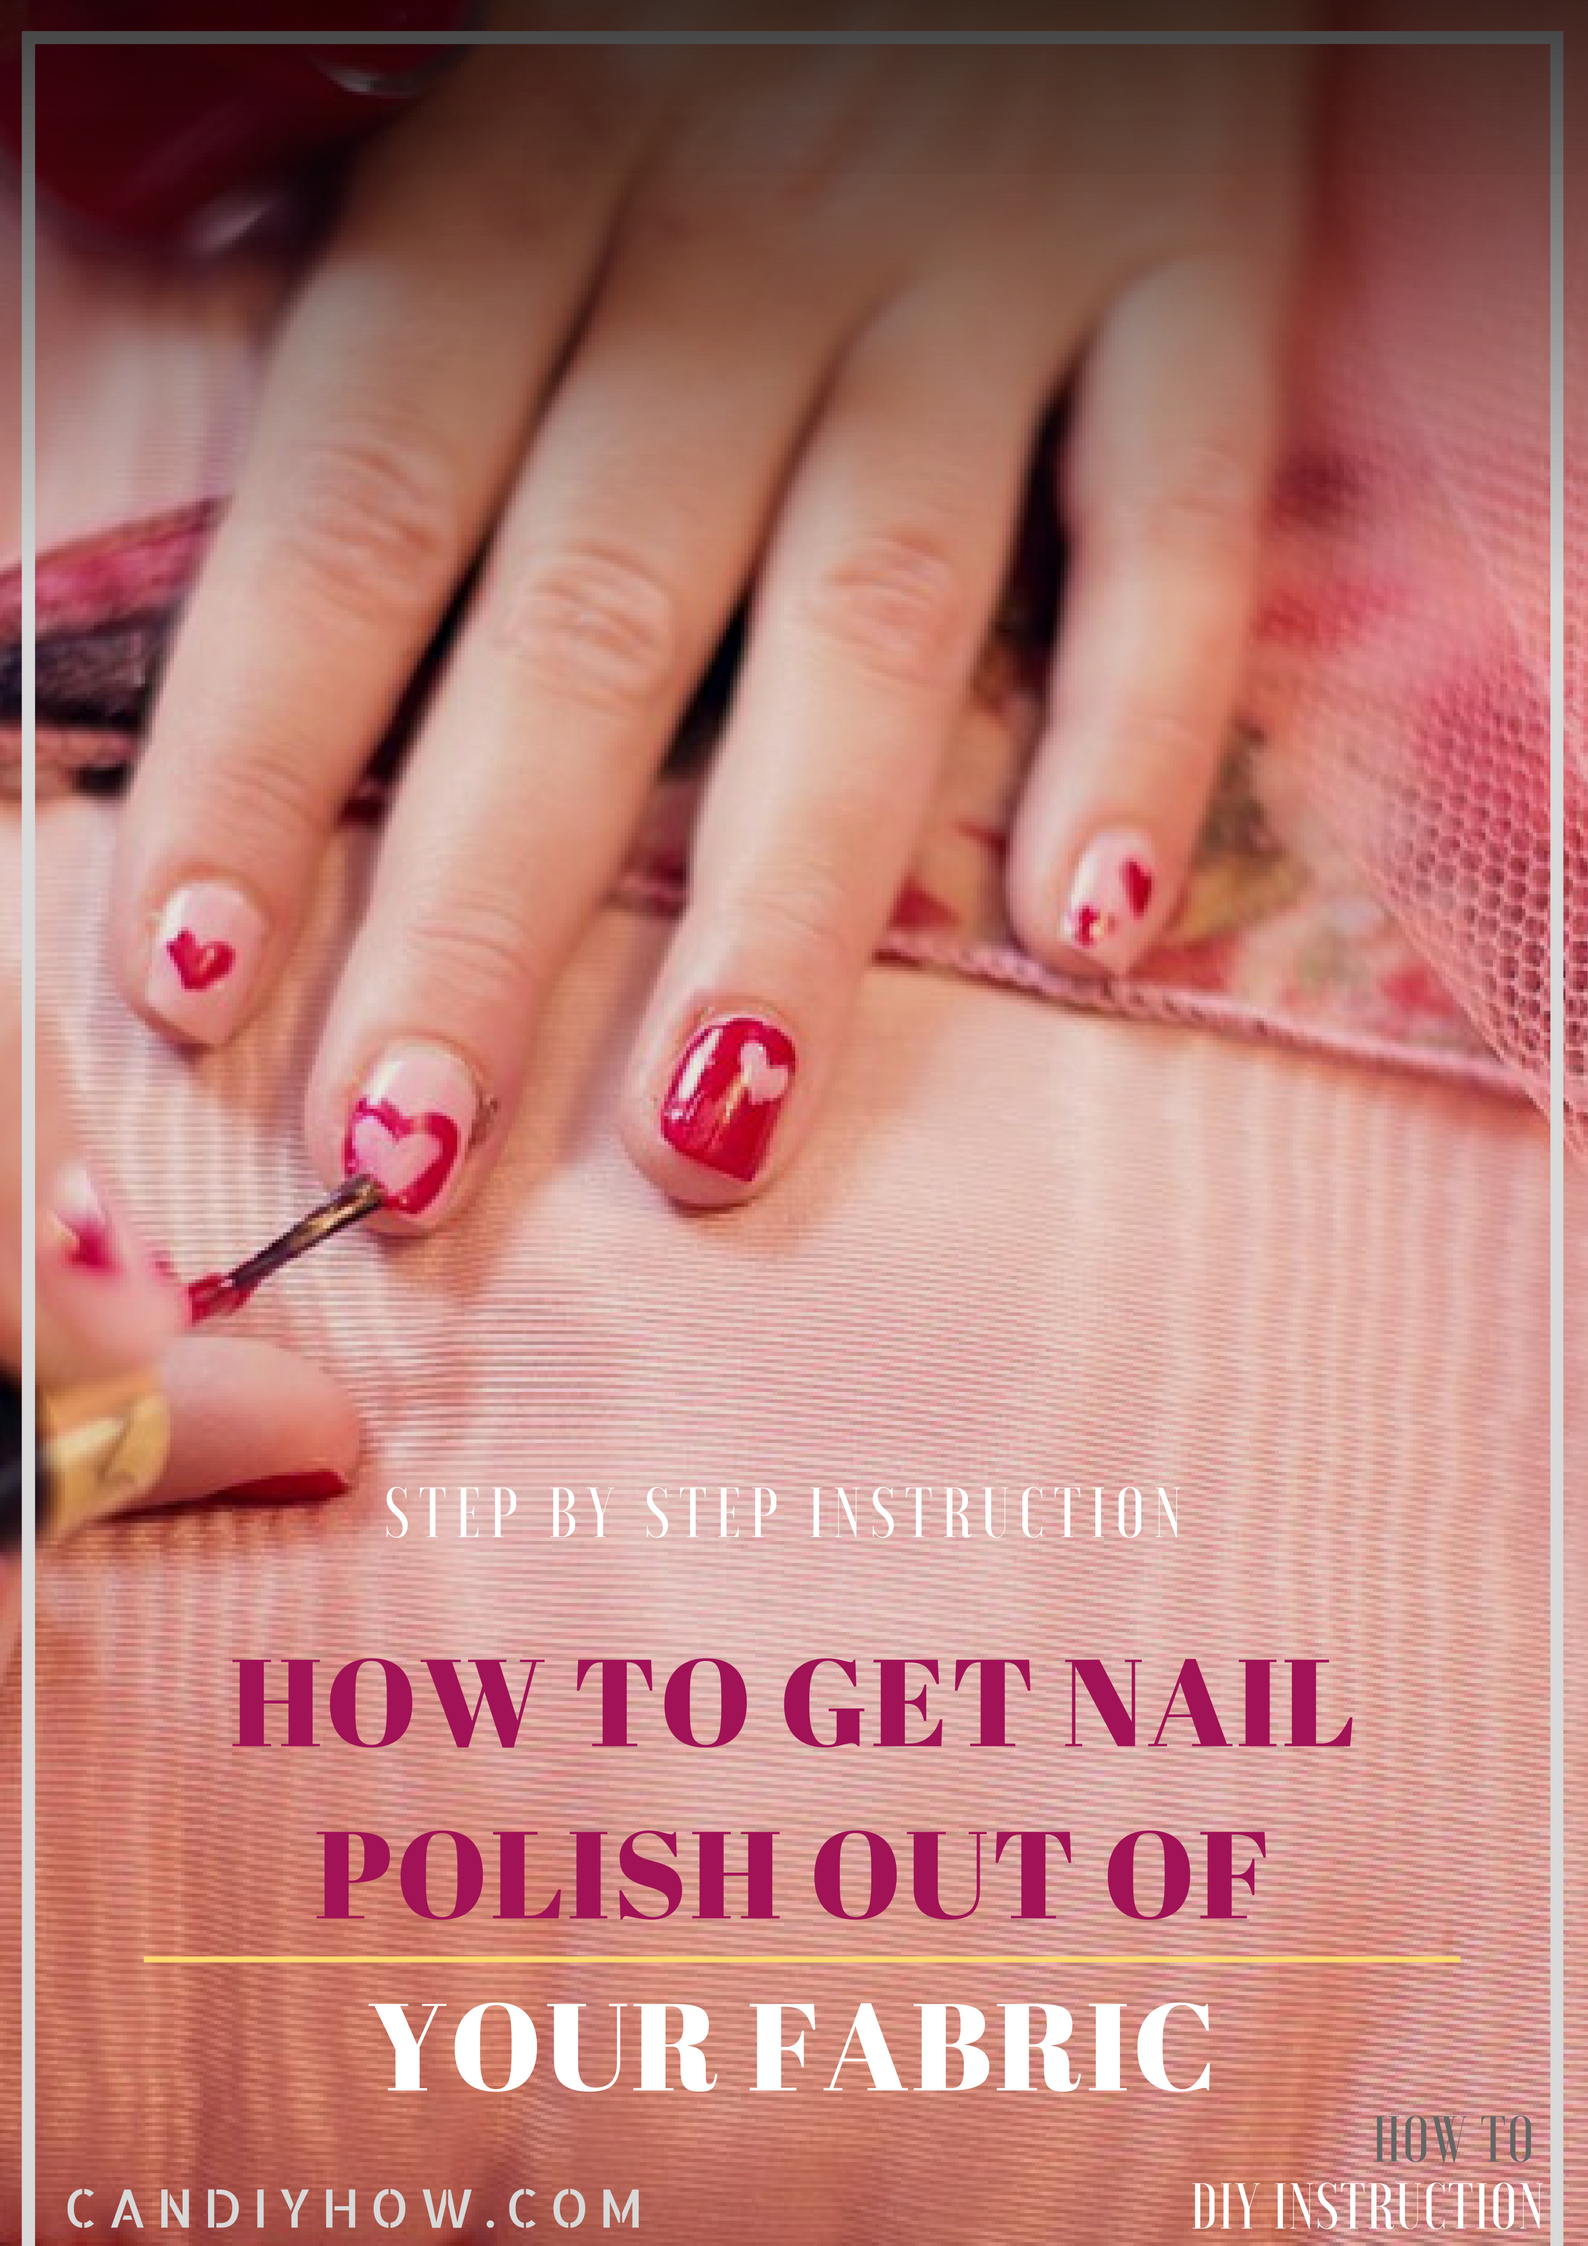
Nail polish is a hard stain to remove, once it gets tainted on any of your clothes, you couldn’t get rid of it easily. The colorful stroke of nail polish may resemble great on our nails but, it definitely gives trouble while exhibiting on our fabrics, right? You can eliminate the mark of nail polish in different ways; here are some of them-
How to
Firstly, wash out the mark instantly as soon as possible with normal water.
Then, place a tissue paper on the on the stained area to dry it up properly.
After that, place a paper towel behind the nail polish spot and then start your removing process.
Now, blot the portion with a removing ingredient like acetone, hydrogen peroxide, nail polish remover, etc. All these ingredients are individually effective on nail polish stain.
Apply the solution with a cotton ball and keep rubbing the area gently with that soaked cotton ball.
This way, you will transfer the stain to that paper towel from the fabric surface.
Now, wash off the solution with strong water force under your sink and repeat the process again, until you get rid of that nail polish stain completely!
Rinsing the stained area with warm water would give you the more satisfying result of this operation.
Hairspray or bugs spray also effectively on such marks because of the inside acidic content of these products.
Finally, wash the whole cloth in your washing machine and once it would be all dried, the fabric should be completely out of stain and polished.
Related Video: Nail polish stain removal from fabric
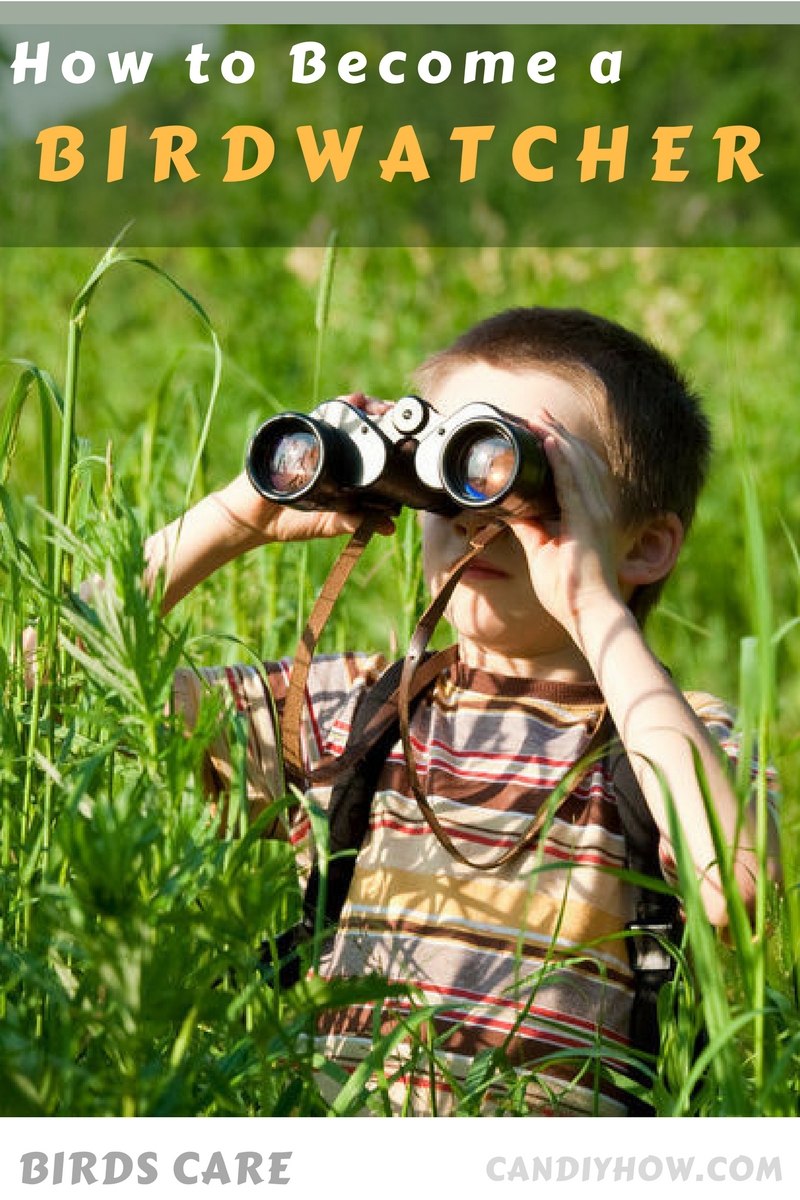
Some people have a fetish for finding and recognizing different types of birds with various species and becoming a bird watcher is the best solution to that desire.
If you are also seeking for a way to get involved in the lifestyle of birds along with their varieties of appearance and multiplicity of species then simply become a bird watcher and quench your dream optimistically. Some people decide to be a bird watcher but sometimes, they don’t know the exact way to be a perfect bird watcher, if you are also suffering from the same queries then let us help you here with the apparent guidance over this issue, check it out now-
How to Become a Bird Watcher:
Birdwatcher – Birder Guide
Do some research on a few common bird species to know when and where to find them?
Use the internet well for this task and you can take help of some professionals as well to recognize the genus of birds clearly.
Sometimes reading books, journals on birds and talking to a friend who knows or owes birds would be helpful too in this venture.
Be a member of birdwatcher community to know more about this segment expertly.
If you want to do this all alone then, gather some useful materials which are essential for a birdwatcher and begin the bird surveillance mission immediately.
You will need a binocular, a hat, a sunglass, telescope, a guide to that place where you are going to hunt, and a carrier bag to carry these stuffs during your mission.
Try to get well dressed during this time is another crucial part of a birdwatcher and try to wear an outfit that could make you flexible enough to run, climb, sit or lie anywhere throughout the whole process.
According to the expert birdwatcher, you need to dress in some vibrantly colored outfit to get merged with nature or wild atmosphere more effortlessly while following a bird in their wild habitat.
If you are going follow birds for an extended period then try to keep yourself prepare enough to face small difficulties during the bird-watching session.
A bottle of drinking water, some dry foods, antiseptic cream, sleeping bag, tent materials, battery light, a pair of clothes, a knife, a diary, a pen, etc. are some helpful component, which can help you’re here.
After following all the initial stage properly, find your bird with the help of a binocular, follow it slowly, keep observing them frequently, and note down the natural behavior of that bird in your diary, whenever you get a chance during this session.
Once you finish a mission, get some rest for a few days, set a new goal with some other bird species and keep repeating the steps again.
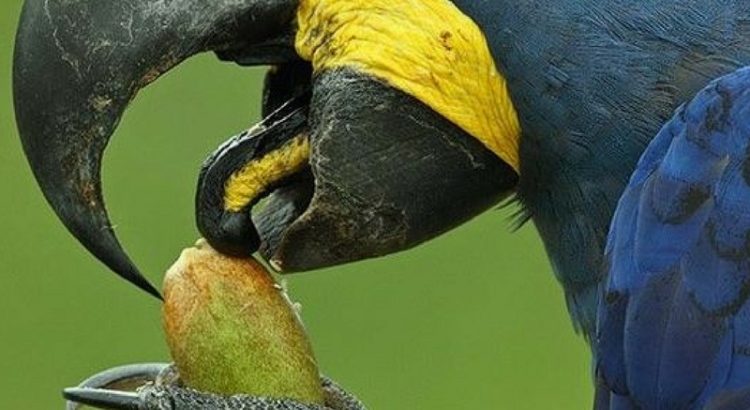
Parrots are one amazingly amusing bird and probably one of the best pet ones could have, but having this domestic bird as your house pet is ineffective until you train them to sit on your hand, right? Admit it or not, we all have that hidden desire in our mind that once our pet parrot sits on our shoulder or finger or hand, however, this dream turns into a nightmare when we get injured by their sharp, untrimmed claws.
Parrots’ claws are extremely pointy and bandied which make them absolutely dangerous especially when staying untrimmed. So try to keep trimming the nails of your bird often at home to stay safe from any scratches or bleeding from your bird. Here we are giving you a simple method to cut your bird’s claws at home in a few easy steps, let’s check them out-
Clipping Parrot Nails Steps:
Try to keep your bird calm first to begin and complete the process in a hassle-free manner.
Now take a long soft towel and wrap your bird with it by keeping their legs out of that wrapping.
Gather some nail clippers, some antiseptic powder, and a nail cutter or a hard
Use a pale colored towel here, as it is observed that vibrant colors tempt or alarm a parrot furiously and make the whole process a big failure.
Some pet experts say that use to apply this wrapping process frequently before the exact grooming session, as this will make your bird comfortable with this process and wouldn’t trigger it on anyhow.
After completing the wrapping process, take one leg near to you and lift a nail with the help of your finger.
Now, set a nail clipper on it, bring it back to its place carefully and do repeat this process with the entire finer of both legs.
Then you need to divert the mind of your bird before the final process which is cutting or trimming the nail adequately.
To do so, give your bird some tasty treats or let other family members talk to your bird constantly, so then, it can’t concentrate on your trimming process for once.
Now, bring the trimmer and start cutting the nail to a certain proportion where the claws could obtain a safe nail portion.
If you ever found that some blood start occurring on the nail, spread the powder immediately of that place and wait for a few minutes before going for the next trimming process.
Don’t try to complete the session forcefully to your parrot and leave it instantly once you find that your bird seems uneasy about the process.
For novice people, we would recommend you to take your bird to professionals for avoiding any injurious consequence of this trimming process.
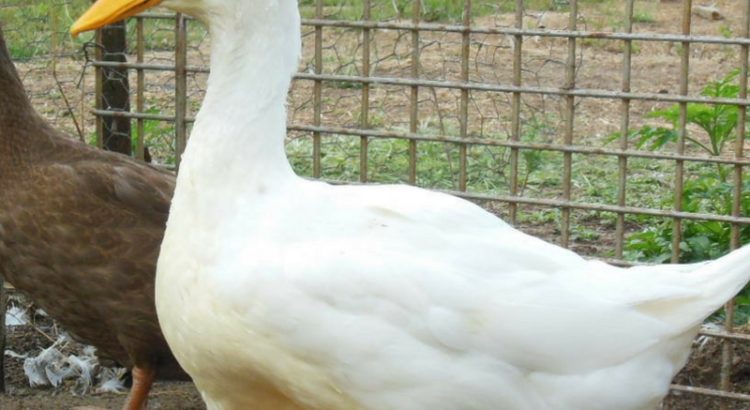
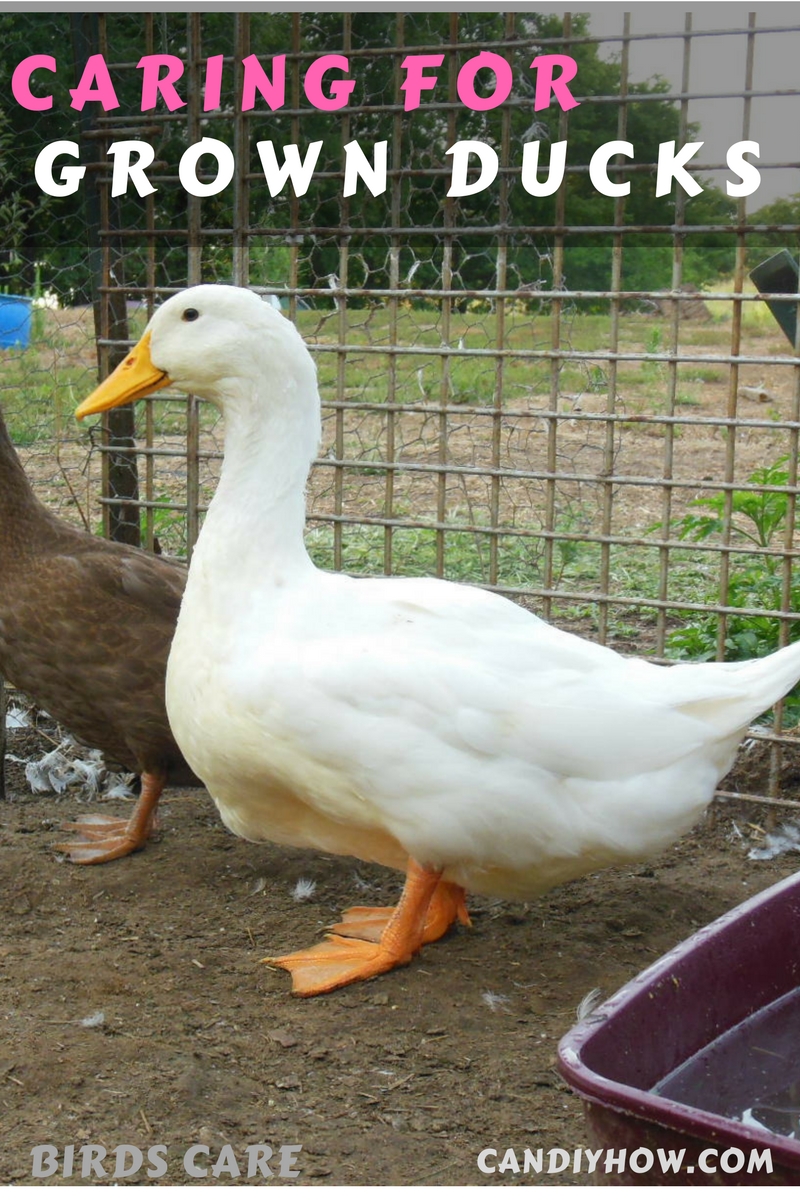
Ducks are a productive and intelligent bird and that’s why; they considered one of the best domestic birds ever. people, who tame duck as their domestic pet, always keep them in a group or in a pair, as they couldn’t thrive vigorously while keeping alone.
Hence, things get tougher or a little laborious when it comes to the matter of taking care of a duck clan. However, fortunately, these pretty birds don’t need any additional caring method to be raised yet a few basic concerns are mandatory to take, like feeding, providing enough nutrients, giving protection, allowing them to ramble, etc. So, note down quickly these easy caring methods of this peaceful creature to get more productivity from a fully grown duck, take a look-
Making a shelter is the very first thing you need to provide a fully grown duck for its protection and solitude.
Build a duck pen and try to cover the edges with high fences to keep them protected under the limited territory, as duck have a bad habit of flying away from one side to another.
Due to their wide wings, ducks could fly really up than your expectation, so try to keep the fences long to make sure that they wouldn’t escape or fly easily.
Try to cover the pen with partial shade, so then they can take shelter when they need and at the same time come out under direct sunlight as well.
Ducks usually like to sleep under shade, so a complete open pen could give them a little difficulty when they want to sleep in that pen.
Though duck is a flexible animal and could adjust in every survival condition effortlessly, providing some luxurious caring method would help to grow your domestic bird more vigorously, and offering some comfortable bed under shelter is one of the best endeavors of them.
Try to spread a layer of straw or rice hulls at that place to make the bed of your duck warm enough laying eggs more easily and getting sleep more quickly.
If you have an open pen or house for your ducks then try to keep the barricade high enough to keep them protected enough from any attack of predator animals.
If you have chicken-wire made protected house then, try to keep the door of that pen house close when you are not around, or in the night.
After validating their protection part, you need to take care of their nutrition segment very carefully to make your petting process triumphant.
To provide adequate nutrients give them enough food with high nutrient value, like rice grains, readymade poultry foods, chicken feed, edible seeds, other edible grains, etc. are some preferable food for ducks, but try to authenticate a food quality by some pet experts or a vet near you before giving it to your duck regularly.
Try to keep a water source near the shelter of your duck, as ducks need to humidify their throat often throughout the whole day and drink almost 1-1.5 liter water in a day.
Always provide them clean and germ-free fresh water for their drinking supplements for their healthy growth.
It is seen that ducks often fly away to get near of water and food sources from their sheltered area, so try to arrange two proper sources of these two elements to keep them busy under their protected area.
If you use straw or hulls to make the duck shade area cozy then, try to change the stuff daily and replace the material with some new ones to keep the shelter absolutely pests-free.
According to the vets, ducks grow more vigorously when they socialize more, so try to keep your duck active with lots of socialization activities throughout the whole day. Rambling, flying, swimming, playing with their companions, etc. are some recommendable activities you can try here.
Try to take your duck a monthly checkup near a veterinarian to keep yourself assured that there is no health disorder growing in your bird.
Inspect your duck vigilantly every single day of petting and never underestimate a single part if health disorder ever during this validation.
Take your duck for bathing once a week as they take a bath by themselves regularly while swim on water, but to make them clean thoroughly from beak to legs and from feathers to rear a clean bathing process is required.
If there is no pool or pond near your backyard or the pen house or duck, try to make an artificial one to keep your ducks heartily healthy.
One more tip we should mention here that never keep any injury of your bird untreated for long, especially when it occurs on their wings, as sometimes infection in some injuries acts deadly to a duck.
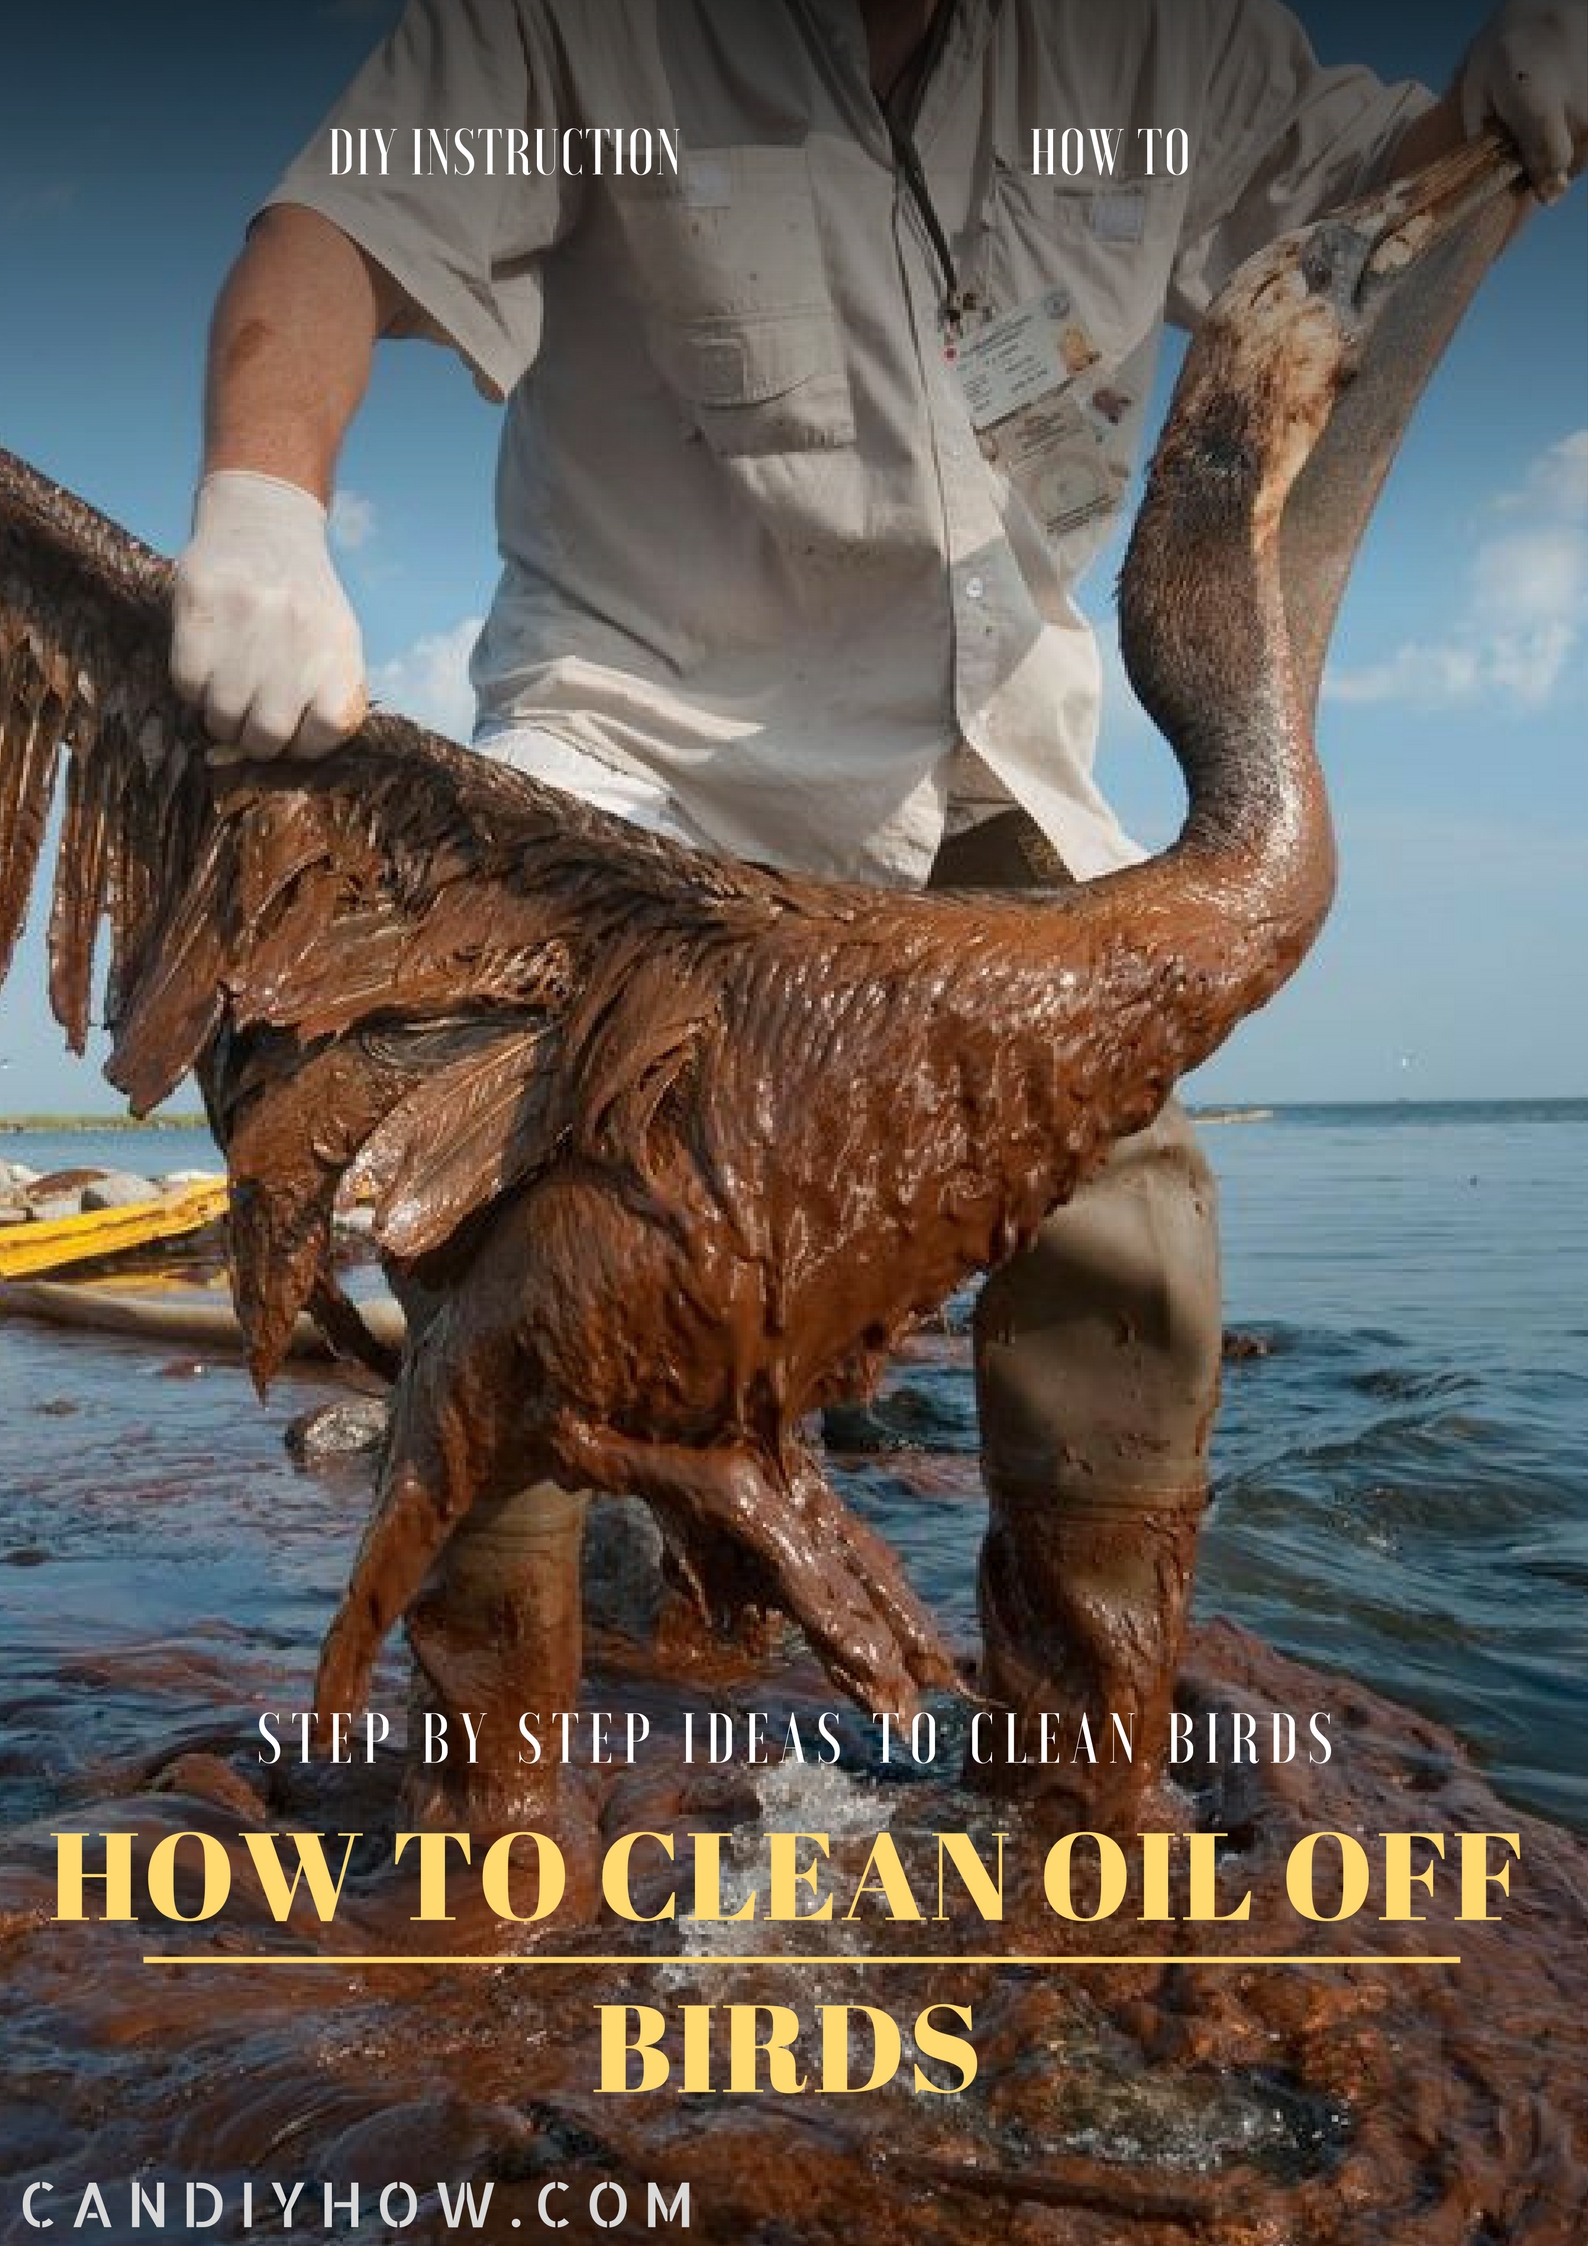
Birds are agile and they are hard to tackle, especially when we take them out of their cage, but sometimes we need to do this due to some cleaning purposes. One of the most crucial cleaning segments is removing oil from a bird.
Birds act really furious or irritating when it’s come to the matter of oil, as oil makes their feather heavy and hard-to-extend when they try to fly. It is observed that sometimes, bird get intestinal disorders or deadly upshot if they accidentally consume oil internally. So, it is essential for both internal and external health orders to take the oil out of a bird as soon as probable. Here we are suggesting you an easy procedure to do the task at home, check this out below-
Materials you Need:
A small bathtub
A large bowl
1 tbsp of washing detergent
½ liquid dishwasher
¼ bucket warm water
An empty spray bottle
A soft bristle brush
Water pipe or hand shower
Paper towels
Blow-dryer
A soft towel
And a pair of gloves
How to Clean:
Take the warm water in the bathtub first and stir in the detergent into it.
Now place the bird in this tub and cover it with the foamy texture entirely thoroughly.
Don’t forget to wear the gloves before touching the bird to keep your hands protected from oil touch.
Now take the brush and rub the bird gently with its bristle-side over and over to remove every oily substance from it entirely.
Never hold your bird hardly during this process, otherwise, it gets concerned and will start giving you difficulties in the cleaning
Once you find that outer oily surface has gone, take the bird out of that water and place it in a large bowl.
Now, take the liquid dishwasher into an empty spray bottle along with a cup of lukewarm water and shake the bottle vigorously to mix them up.
Then, spray it on your bird and rub them again very softly with that mild brush.
After finding that your bird is all cleaned now, use a water pipe or hand shower and rinse off the soapy texture out of your bird immediately.
After washing them clearly, take your bird out of the bowl and pat dry with some paper towels gently.
After this primary drying method, use a blow dryer at very low speed to dry the feather of your bird adequately and once you are done, set your bird free to enjoy its own time.
One more suggestion we want to give you here that if you think the oil spot is very hard and your initial methods are not capable of to take them off properly, we recommend hiring a professional in such matter immediately.
To be a successful car salesman, especially in a country where 90% of dwellers are car holder is not an easy thing to do, as there are many competitors around you doing the similar task!
A salesman should be aware of how to attract a customer towards his offer and how to keep their competitors far behind effortlessly. Here we are suggesting you a few useful tips on this regard, let’s check them out-
How to happily Sell more than 30 cars a month
Always be enthusiastic to your customer, so then they can get interested in your approach warmly.
Start your conversation with a topic that the customer has interest.
Be trustworthy and move with authenticity are some highly influential tricks you can use here to lure your customer.
Try to provide some motivating information of your company with the authentic news that could turn the customer on towards your offer.
Be clear about the demands of your customer and always provide an offer to them depending on those requirements.
Try to be clear about the budget of your customer and provide them product within that budget, always.
Offer test drive to your customer and tell them as many facilities of that car as you can in a passionate way.
Try to amalgamate personal experience of your friends, family or other customers’ view about that car to your customer that could motivate your customer towards that vehicle.
Last but definitely one of the imperative tips is that emphasize your customer that why he or she should buy that particular car among the other available options and be sure that your providing point is fair enough to convince your customer to the utmost!
Suggested Video: Tips and Suggestions for a Successful Car Salesman
One of the primary training of a pet is to make him come to you when you call it, and it is not exceptional here as well. You have to teach your cat to respond to your calls and to instruct this important skill, you need to follow a few simple rules, let’s find out what they are-
Training My Cat to Come When I Call Him
At the initial stage of cat training, most of the kitties act frightful and they deny following your command due to their fear. Do not lose hope and start from the zero level, where you need to teach your cat to connect with its own name.
Remember that as soon as it could relate to its name, it will be more effortless to make him follow your command unquestionably.
Try to call your cat with its name every time you are going to give your cat food stuff.
After doing this process for 1-2 days repeatedly, it has been seen that most of the kitty could relate to their own name easily.
Now you need to show them a few small dominations like sit, lie, eat, drink, etc. gradually. We should make it obvious here that don’t try to be over dominating at the beginning and let your pet be comfortable with your commands.
Try to make your pet happy with a tasty treat, whenever it follows your command properly, this will instigate them more to listen to their master.
Now it’s time for the final leash training to teach them the last but the most important rule of the house that he or she should come to you immediately when you call him by its name.
In this segment, you need to take your cat on the leash and hold the grip slightly with mild hand.
Now, call the name of your cat and loosely drag its neck towards you to make your cat compel to come near you. Practice this same thing constantly for a few days to make your cat understand about the responding skill.
After this, keep losing the leash day after day and let it come to you from distended locations in every single practice session.
Don’t forget to give your cat pleasant treats like their favorite food items or plating stuff, whenever it’s following the command properly.
Now all you need is just keep practicing this method repeatedly for some days and reward your pet every single day of this training.
One more thing we should mention here that make sure your cat will get rewarded or benefited every time it listen to your command, and be certain that you never make him or her compel for something when it comes to your by your call. This will bring negativity about their master’s call and they will never listen to you properly with your primary calls!
Using a Cue Word and Training your Cat to Come When Called
Many people think that determining the gender of a kitten is an intricate thing, especially about the newborn kitten, but there are some tricks available to do this task like an expert. Let’s find it out-
How to Find Out the Gender of You Kitten
Try to wait for 3-4 weeks after the born of a kitten to find its sex at home, as it will be painful for a newborn to jolt for finding their gender, isn’t it!
After finding that the organs of kitten have reached a proper growth, and it is comfortable with your presence, gently hold it through its back or neck side to begin your validation process.
Now, put the kitten carefully on a clean towel or soft cloth by putting the belly side down over the cloth.
Then, gently lift the tail up and examine the genitals part of that kitten to verify the gender clearly.
Male and female both kittens have anus on their back exactly below the starting point of their tails, but anus hole of a female kitten is a bit different from the male ones.
Female kittens have vulva while the male kittens have a penis, which makes the difference absolutely apparent about their gender selection.
If you still a little confused by the tiny sizes of the genitalia of kittens then try to figure it out by the distance of their anus to their genital organs, as female kittens have smaller distance than the distance between the anus and genital organ of a young male kitten.
Video: How to Determine the whether your Kitten is a Boy or Girl
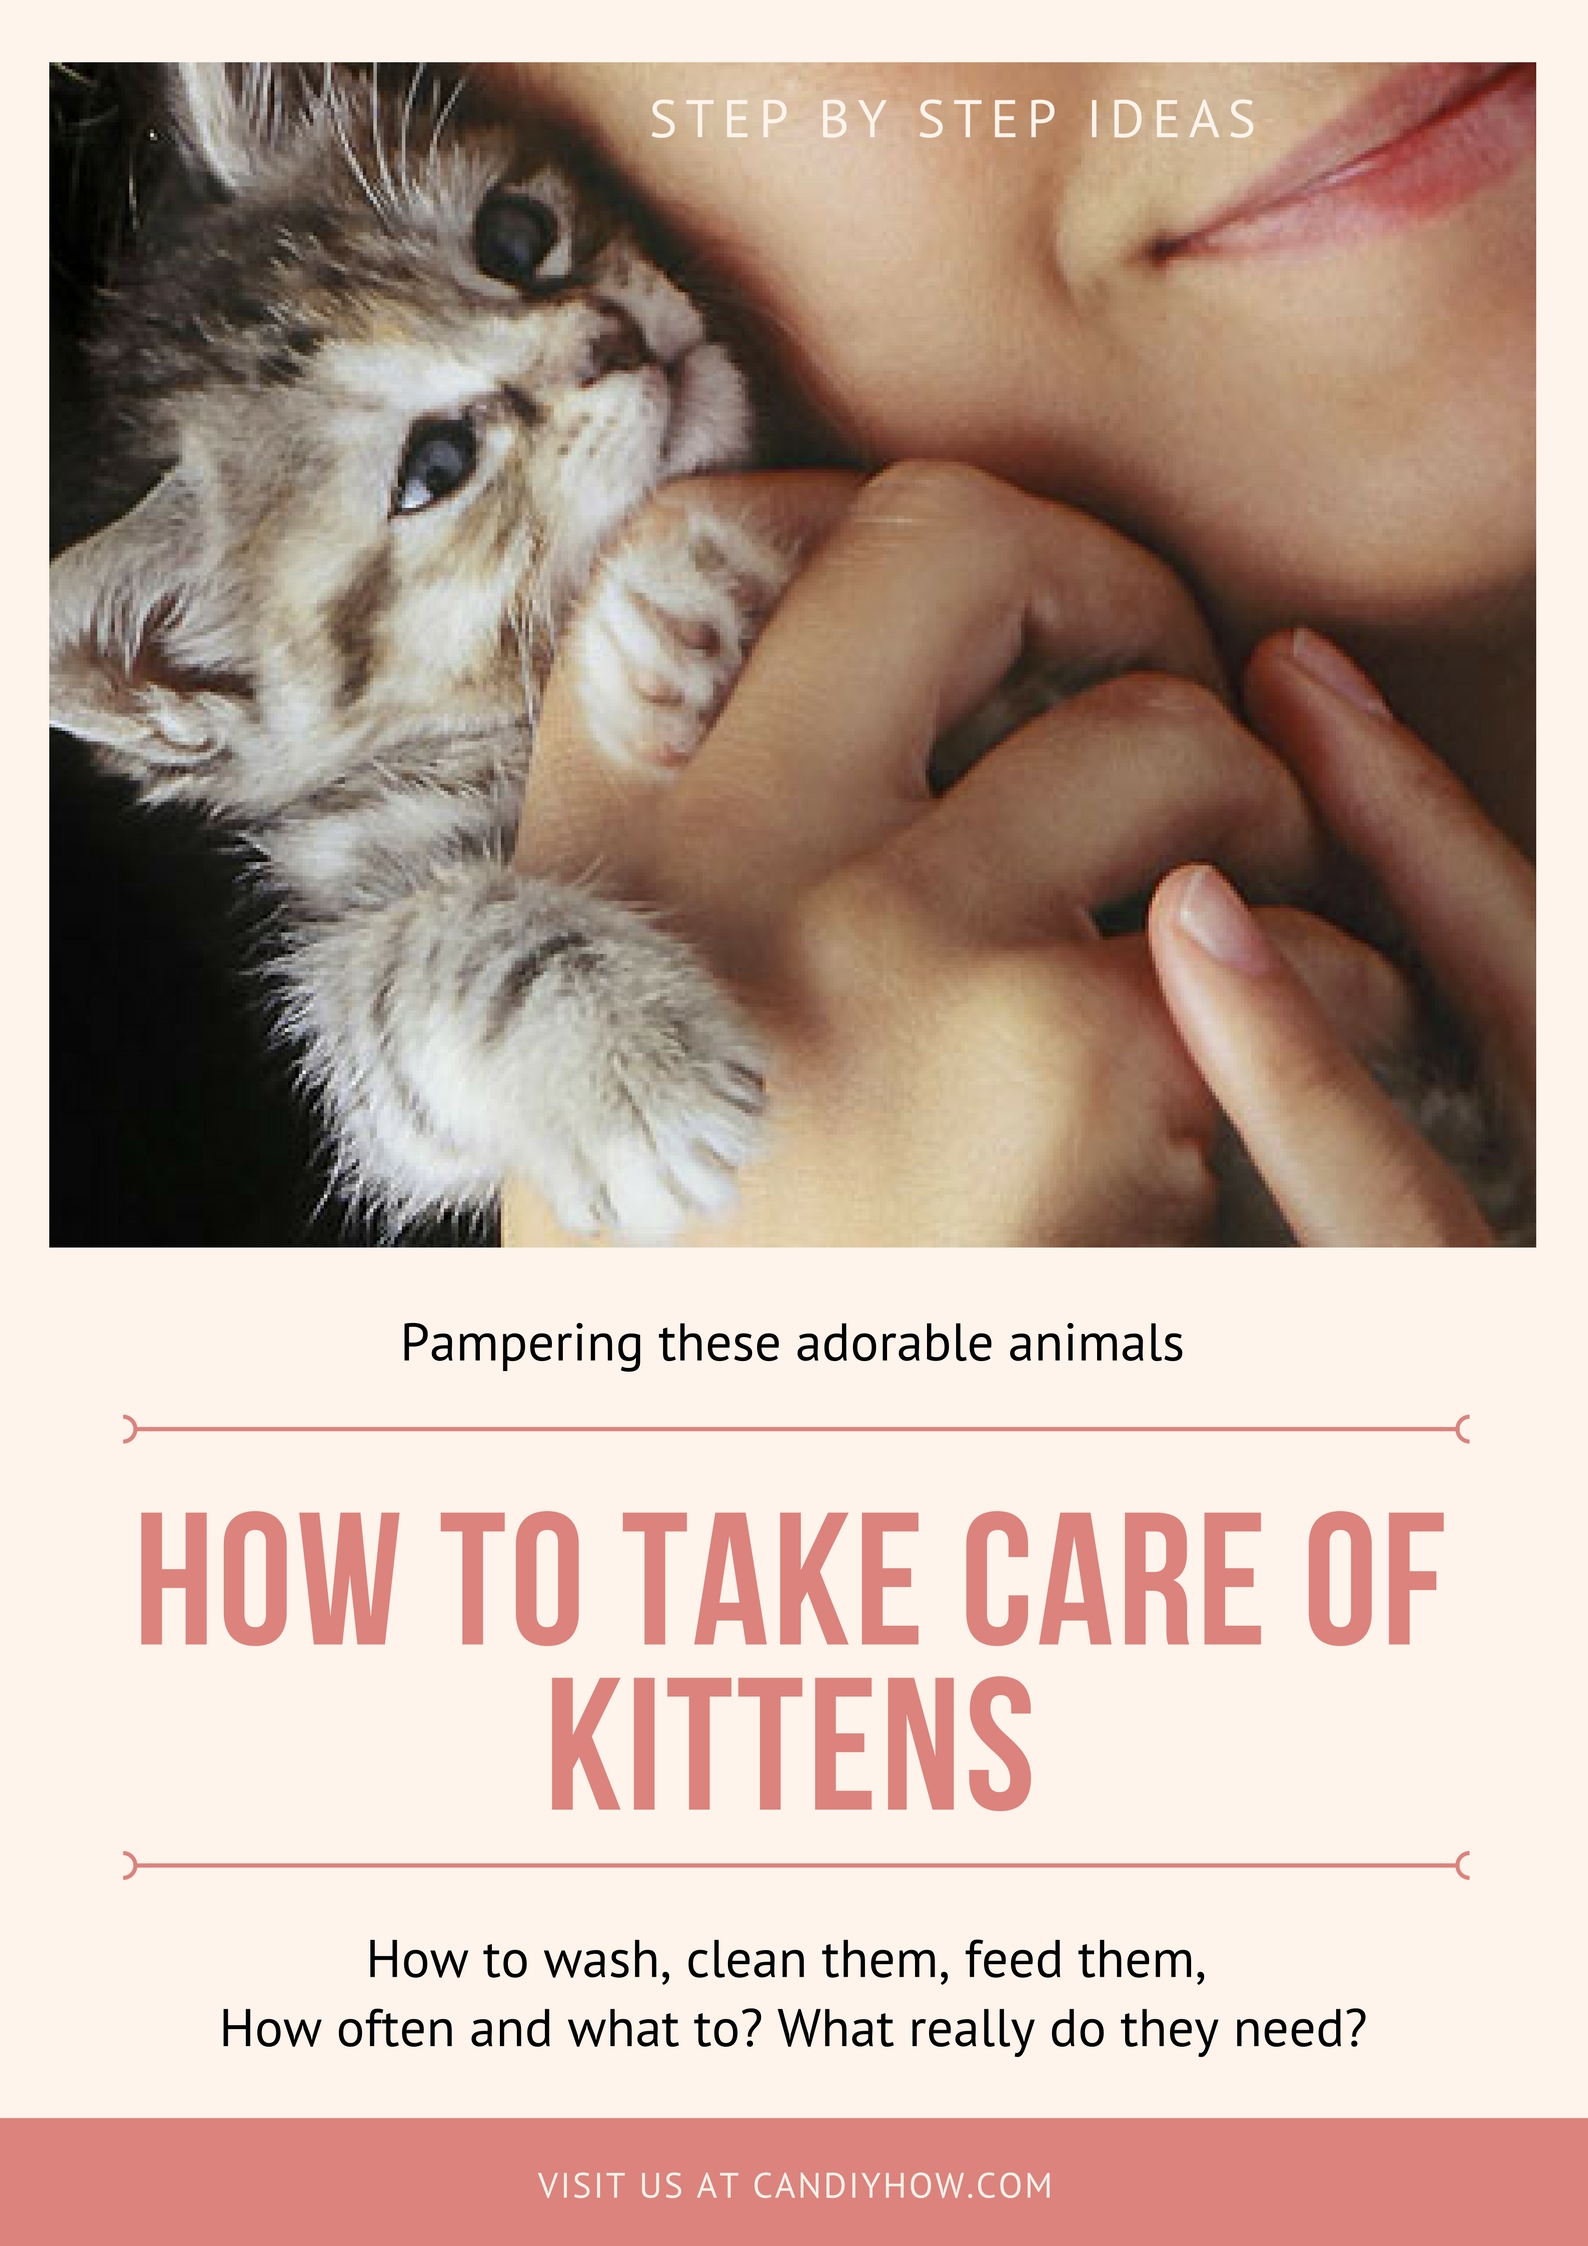
Taking care of kitten is a delicate thing to do, especially if you find it as an orphan condition or without its mother. But, we can’t leave a tiny poor kitten in the shake of intricacy, right?
Sometimes we found a kitten roadside without its mommy-cat or sometimes, unfortunately, its mom-cat died, and in such crisis, a pet lover couldn’t stop trying their hands on raising such purring fur balls because of the delicacy of that job.
So, here we are referring you how to take care a newborn orphan kitten at home without any professional help as an expert pet holder. Let’s check these tips out-
Taking Care of Orphan / Newborn Kittens
Initially, find out if the kitten is less than a week old or more than 2-3 weeks by checking its eyes. If the eyes are close then take extra care and use to feed them only light milk through nipple-set nursing bottles.
Provide them a warm and safe place to rest first where no danger could touch them, even in your absence as well!
Adorn the place with clean bedding and keep the area dry for all the time, around the bed of that little kitten.
Try to place them in a natural condition and realize the real temperature of nature, yet a consistent temperature in-between 90 to 92 degrees F is healthy enough for a newborn kitten.
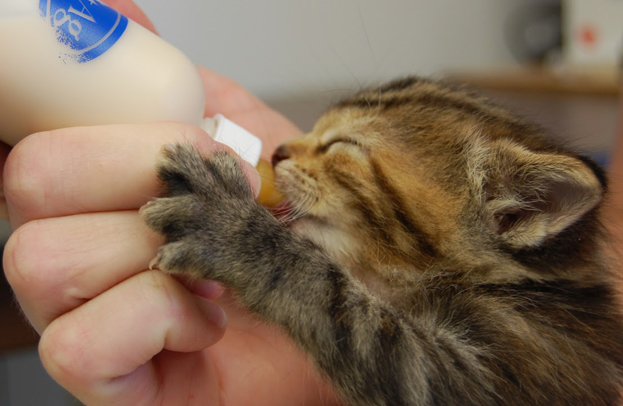
After preparing their bed to be active for their food and feed them kitten milk through a feeding bottle carefully.
Kittens are not able to consume too much of food at once at their newborn stage, so try to feed them more often with a small amount of milk.
Make sure the hotness of the milk is bearable for a kitten and keep it just at room temperature for the best outcome.
Once the kitten starts growing and reach the age of more than 3 weeks, try to replace the milk with meat-based food supplements for the proper nourishment of a kitten.
Validate the health condition of your kitten frequently and contact a veterinarian immediately if you found any irregularity in the health of your little pet ever.
Related Video: How to Take Care of Kittens ( Orphan and Newborn)
how to wash and clean a kitten, give her kitten formula bottle and feed kitten with syringe if kitten is too small.
Tips
Kittens always warm place.
Newborns will love a quiet place.
And they love to sleep a lot, so dont over handle them.
Sleep increases the kittens brain development and nutrition absorption.
And let mother handle the kitties, in case they are orphans let the kittens get the warmness from your hands.
You can take soft tissues and wipe the kittens body just like her mother would do.
when you are about feed make sure the milk is little bit warm and you can squeeze the bottle gently if the kitties are not able to suck much.
And its okay for you to feed the kittens for every 4 hours or after you feel they are raising a hungry cry.
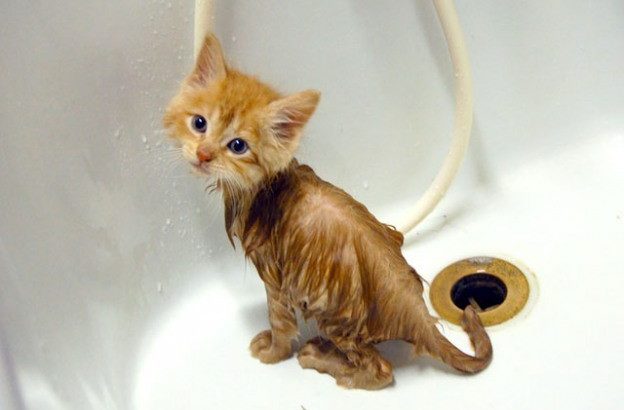
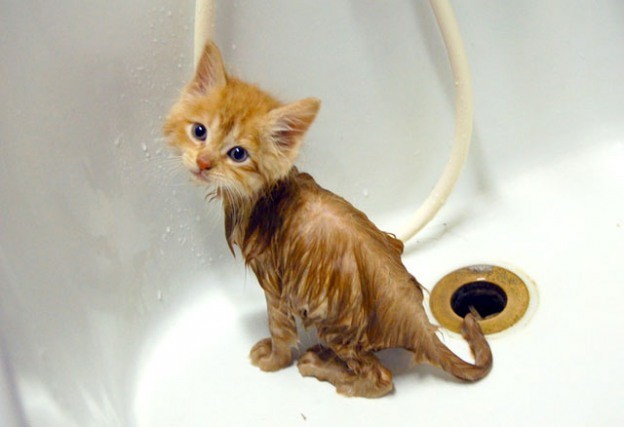
Cats are afraid of water contact so, if you intend to bath your little kitten, then it is not a very good idea, especially who is a novice at this work. You have to be careful all the time that water would enter inside the nose or ears of your little pet and at the same time should be alert about cleaning them up thoroughly.
Kittens are messy and they just get covered themselves with shits or foods after reaching an adequate age of playing. Hence, it becomes essential to bath a kitten regularly for the sake of hygiene, but you must be aware of keeping them safe from getting cold as well.
We are referring you here how you can bath a kitten like an expert without making it anxious in step by step method, let’s check them out-
How to give a bath to my kitten
At first, mix 2 cups of warm water into one tub water and make sure the water temperature if bearable enough for a kitten while bating it inside the tub.
Never put your kitten directly to that tub, otherwise, it may start drowning or act nervous towards a water
Firstly, take a soft piece of cloth and make it damp with the water of the bathing
Now, use that dampened washcloth piece to wipe the claws and paws of kitten slowly. This way your kitten will be familiar with the sensation of humidity and gets used to it while dropping in the tub.
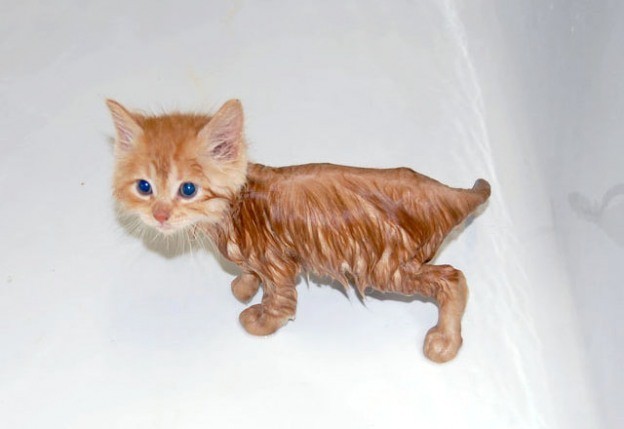
After wiping the whole body of a kitten this way, slowly put it into the bathing tub and start playing with water to make a kitten comfortable with the water contact.
After a couple of minutes, if kitten finds out that water couldn’t harm them and once they get proverbial with the sound of water running or splashing then they will start enjoying the bathing part happily.
Once they are comfortable with it, add a mild pet shampoo in the tub and clan every single part of kitten slow yet clearly by rubbing areas with gentle hands.
During this process, always keep the face of a kitten out of the water and make sure that it remains dry constantly.
Once your washing process is done, pour 2-3 mugs of lukewarm water over the top carefully to rinse out the soapy water clearly.
Finally, take the kitten out of that tub and pat them dry very gently with soft towels.
To clean the face, nose, eyes, and ears of a kitten, simply use a wet washcloth and wipe their face softly after finishing the entire bathing process properly.
Related Video: Kitten taking her bath ( Safely giving a slow wash)